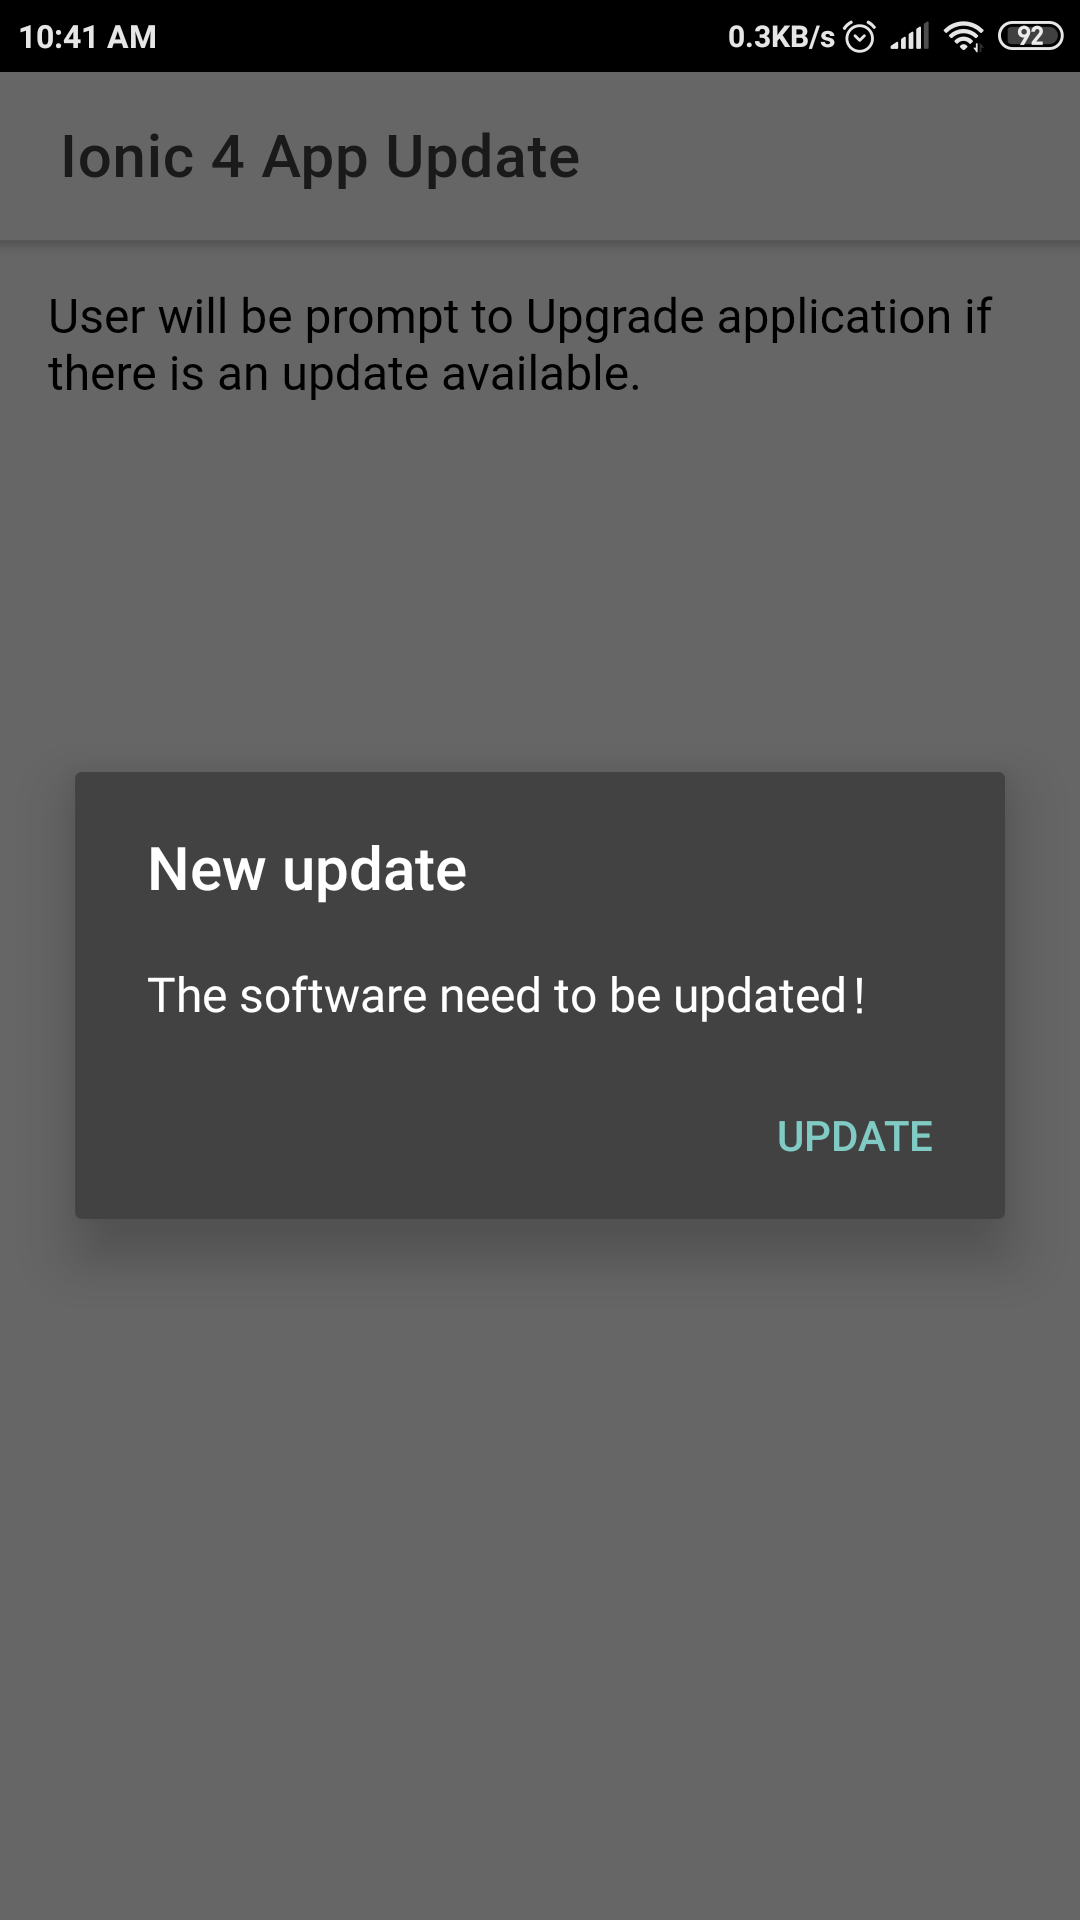
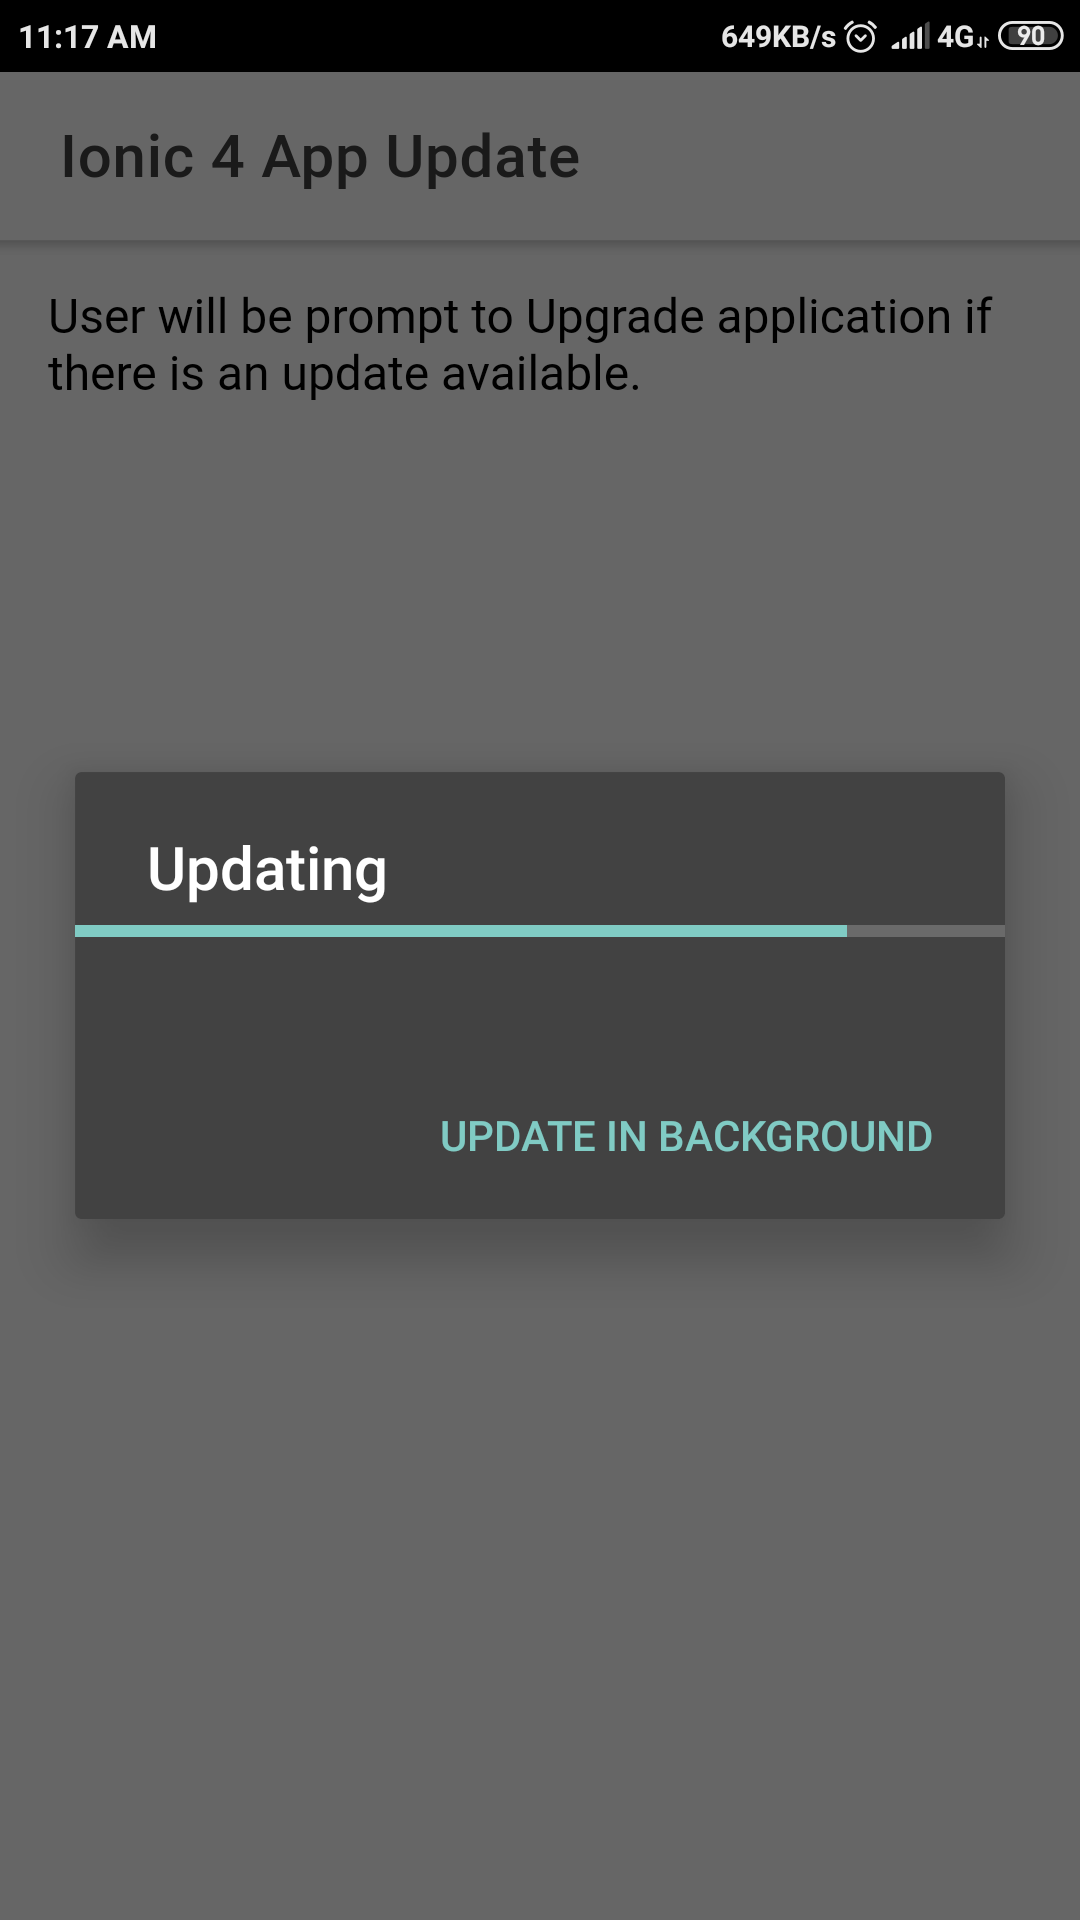
In this Ionic 5/4 tutorial, we will discuss how to update the version from the application itself without leaving going to App Stores. This will open a dialog when there is a new application version is available, then a user can directly download the updated version.
Whenever we update APK with the latest version on Playstore, it remains unpredictable if users have upgraded to the latest version or not. So there is a possibility that most of them may have not opted for auto application update in Playstore application.
So as a solution to let the user know there is an updated version available, on application start we will show a Dialog box to prompt the user that there is an update available with OK and Cancel buttons.
On ‘Ok’ user will not be redirected to PlayStore but updated APK will be downloaded from a specified path and application will be upgraded.
In Ionic Application, we will create such behavior for auto-upgrade in the application by downloading the latest APK, after the user confirms on Prompt Dialog box using Cordova and Native plugins.
Let’s get started …
[lwptoc]
Create a New Application
First, create a new Ionic 4 application with a blank template using the Ionic CLI tool.
$ ionic start IonicAppUpdate blankInstall Native and Cordova Plugins
Next, we will install Cordova and Native wrapper for App Update plugin which will check the version code if there is any mismatch it will prompt ser to upgrade application.
Run the following commands to install the plugin:
$ ionic cordova plugin add cordova-plugin-app-update
$ npm install @ionic-native/app-update
Import Plugin in App Module
To make this plugin available throughout the app, we will import AppUpdate class in the app.module.ts file then update the Providers array as shown below:
//app.module.ts
import { NgModule } from '@angular/core';
import { BrowserModule } from '@angular/platform-browser';
import { RouteReuseStrategy } from '@angular/router';

import { IonicModule, IonicRouteStrategy } from '@ionic/angular';
import { SplashScreen } from '@ionic-native/splash-screen/ngx';
import { StatusBar } from '@ionic-native/status-bar/ngx';

import { AppComponent } from './app.component';
import { AppRoutingModule } from './app-routing.module';

import { AppUpdate } from '@ionic-native/app-update/ngx';

@NgModule({
  declarations: [AppComponent],
  entryComponents: [],
  imports: [BrowserModule, IonicModule.forRoot(), AppRoutingModule],
  providers: [
    StatusBar,
    SplashScreen,
    AppUpdate,
    { provide: RouteReuseStrategy, useClass: IonicRouteStrategy }
  ],
  bootstrap: [AppComponent]
})
export class AppModule {}
Host XML file to a server
App Update plugin makes an HTTP call to an XML file which contains the Version Code of latest updated Application along with updated APK file path:
If our application’s config.xml is defined with version as “5.2.1” which looks like:
<widget id="io.ionic.starter" version="5.2.1" xmlns="http://www.w3.org/ns/widgets" xmlns:cdv="http://cordova.apache.org/ns/1.0">
    <name>MyApp</name>
	...
	...
Then we will upload my_app_update.xml file on your hosting space with following XML code:
<update>
    <version>50201</version>
    <name>MyApp</name>
    <url>https://YOUR_DOMAIN.com/app/APK/app-debug.apk</url>
</update>
Note: We also need to upload APK file and specify its absolute path in XML file above.
Check App Version in Application
In our application, app component is loaded first when the app starts so we will add the following code to check the version and download the latest update if their version code is different.
//app.component.ts
import { Component } from '@angular/core';

import { Platform } from '@ionic/angular';
import { SplashScreen } from '@ionic-native/splash-screen/ngx';
import { StatusBar } from '@ionic-native/status-bar/ngx';

import { AppUpdate } from '@ionic-native/app-update/ngx';

@Component({
  selector: 'app-root',
  templateUrl: 'app.component.html',
  styleUrls: ['app.component.scss']
})
export class AppComponent {
  constructor(
    private platform: Platform,
    private splashScreen: SplashScreen,
    private statusBar: StatusBar,
    private appUpdate: AppUpdate
  ) {
    this.initializeApp();
  }

  initializeApp() {
    this.platform.ready().then(() => {
      this.statusBar.styleDefault();
      this.splashScreen.hide();

        const updateUrl = 'https://YOUR_DOMAIN.com/app/APK/my_app_update.xml';
        this.appUpdate.checkAppUpdate(updateUrl).then(update => {
          alert("Update Status:  "+update.msg);
        }).catch(error=>{
          alert("Error: "+error.msg);
        });

    });
  }
}
How to test Version Update Plugin?
Step 1) Install Plugin
Follow the above steps to install the plugin and make changes in the application.
Step 2) Create a Build and APK source file
Create APK by running build Command (with version="5.2.1" in config.xml file for example)
$ ionic cordova build android
Step 3) Host/ Upload the XML File & APK on remote server
Upload my_app_update.xml file(with any name) on the server with APK (app-build.apk) on the server with the following code:
<update>
<version>50201</version>
<name>MyApp</name>
<url>https://freakyjolly.com/demo/APK/app-debug.apk</url>
</update>
In this case, the user will not be prompt for an update as the version in config.xml in app and my_app_update.xml are the same.
Step 4) Create a new build APK with an updated version
Now make a change in config.xml with version="5.2.2" and my_app_update.xml with <version>50202</version>.
Now rebuild APK file then upload it to the server.
Step 5) Now open App to see updated app dialog
Next, when you will open previously installed app on the device, it will prompt for an update as the currently installed version is 5.2.1 and my_app_update.xml is having 50202
Conclusion
That’s it! now users can easily update version from the app itself. And developers also relax to know that their users will get updated bug-free versions as they run the app.


Leave a Reply