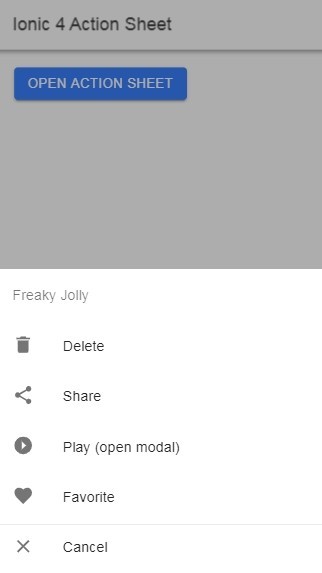
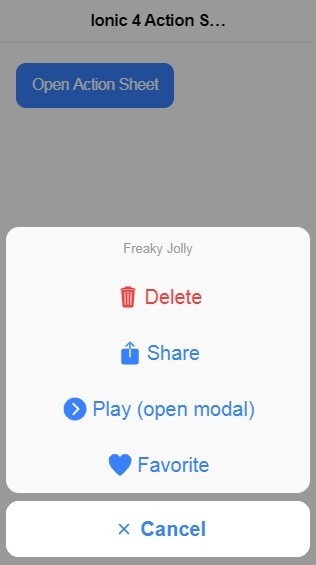
In iPhones, you may have noticed that action options are shown in a sliding menu which pops out above screen sliding in from the bottom.
This is known as Action Sheet dialog mainly used to show some action buttons like in Facebook app they show options to report or flag post/images.
These are dismissed by pressing Back press event in Android but in IOS as there is no back button so a cancel button is provided.
to add an action sheet in Ionic 4 application we need to add ActionSheetController in the component where we want to call it.
Implementation of Action Sheet
We can easily add Action Sheet Dialog by importing ActionSheetController then defining it in the constructor as shown below
//home.page.ts
import { Component } from '@angular/core';
import { ActionSheetController } from '@ionic/angular';

@Component({
  selector: 'app-home',
  templateUrl: 'home.page.html',
  styleUrls: ['home.page.scss'],
})
export class HomePage {
  actionSheet:any;

  constructor(public actionSheetController: ActionSheetController) {}

  presentActionSheet() {
    this.actionSheet = this.actionSheetController.create({
      header: 'Freaky Jolly',
      buttons: [{
        text: 'Delete',
        role: 'destructive',
        icon: 'trash',
        handler: () => {
          console.log('Delete clicked');
        }
      }, {
        text: 'Share',
        icon: 'share',
        handler: () => {
          console.log('Share clicked');
        }
      }, {
        text: 'Play (open modal)',
        icon: 'arrow-dropright-circle',
        handler: () => {
          console.log('Play clicked');
        }
      }, {
        text: 'Favorite',
        icon: 'heart',
        handler: () => {
          console.log('Favorite clicked');
        }
      }, {
        text: 'Cancel',
        icon: 'close',
        role: 'cancel',
        handler: () => {
          console.log('Cancel clicked');
        }
      }]
    }).then(actionsheet => {
      actionsheet.present();
    });
  }


}
In buttons array we add the following object
...
...
{
        text: 'Delete',
        role: 'destructive',
        icon: 'trash',
        handler: () => {
          console.log('Delete clicked');
        }
}
...
... text: Text of the button to show to the user.
role(optional): Any of three roles ‘cancel’ | ‘destructive’ | ‘selected’
handler: callback called after a button is tapped.
icon: Name of icon to show with a button.
Android
IOS
Action Sheet control provides a very handy option for developers to give actions to users. In Ionic 4 we can add Action Sheet to the user in a few simple steps as shown above. Check more details in docs here.


Leave a Reply