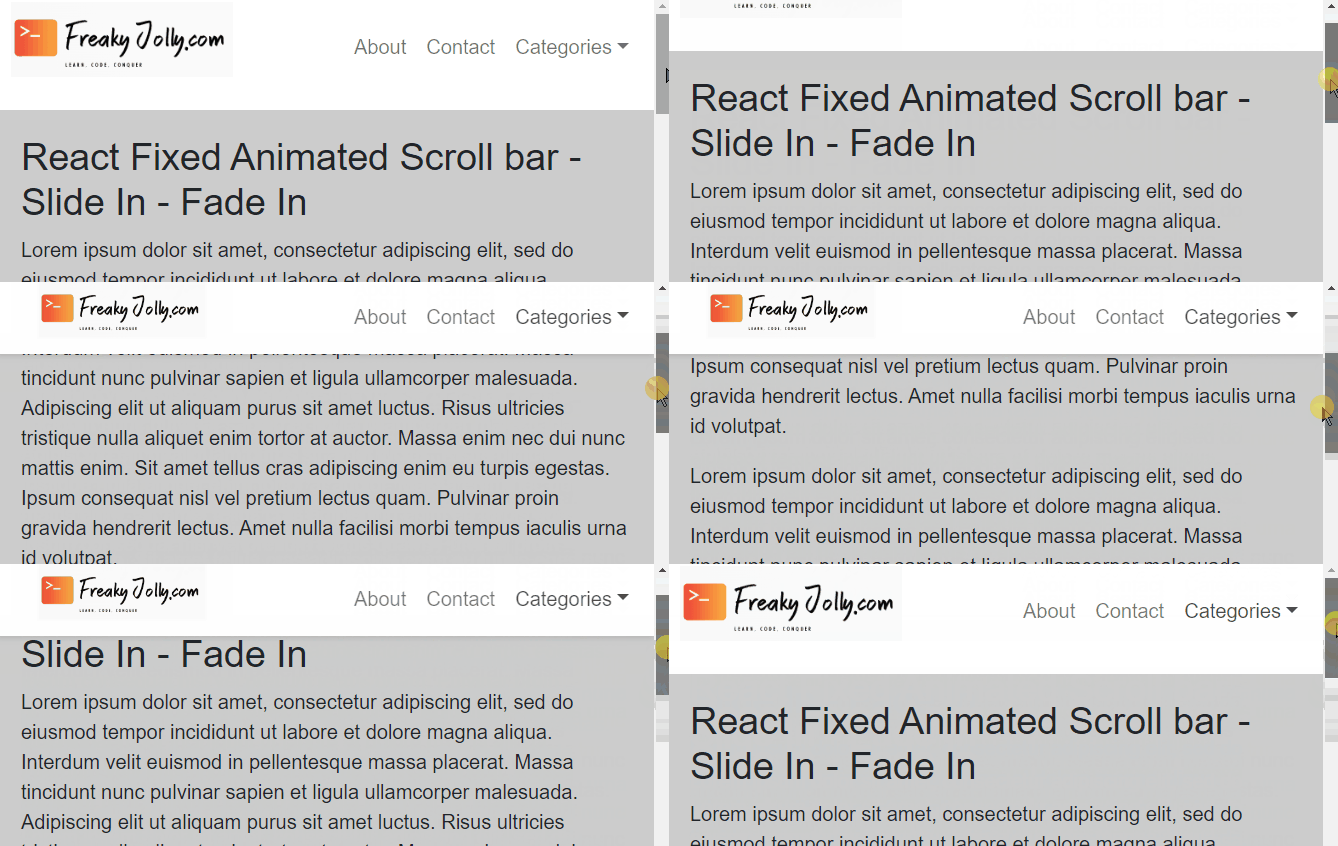
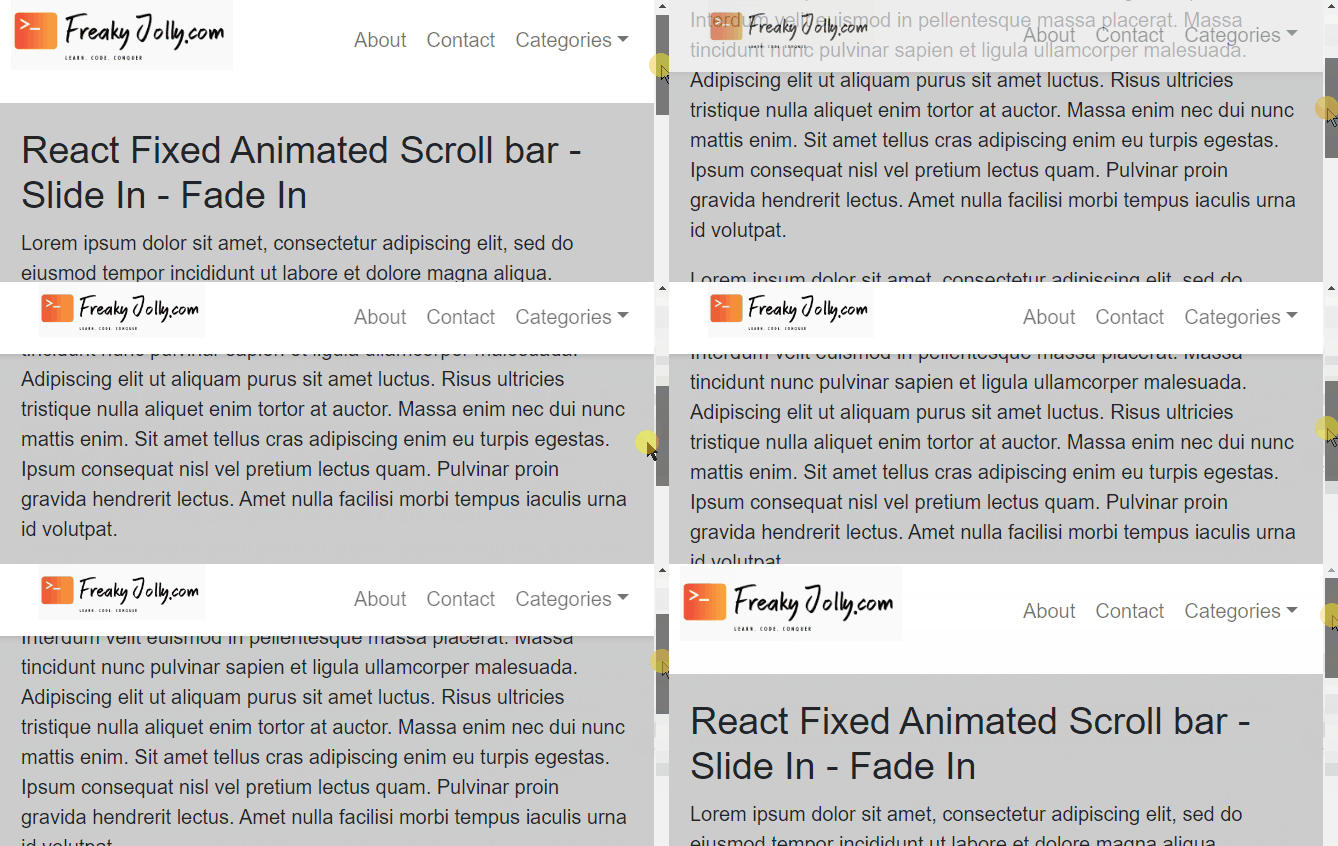
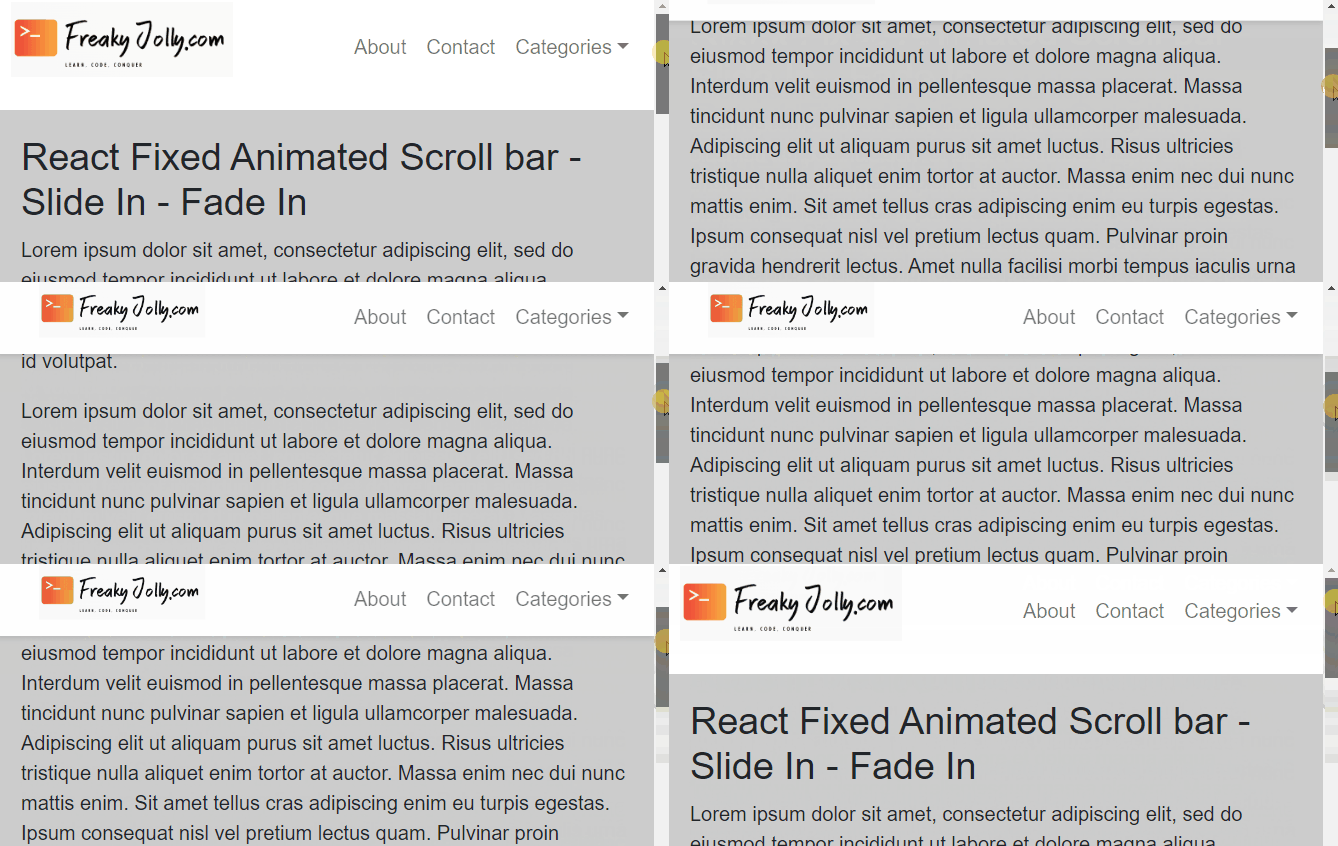
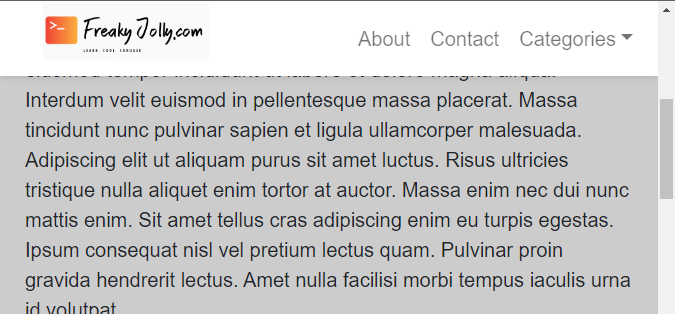
In this tutorial, we will create an on-scroll sticky header using React JS which will remain fixed on the page scroll. Also, it will have a Bootstrap navigation item with a logo that will resize with CSS animation.
The header will become fixed as the user scrolls down the page, and we will also implement various animation style options including Slide In and Fade In. We will implement the fixed sticky header by following the step-by-step guide to developing a sample application that demonstrates these features.
What is a Sticky or Fixed Header?
Before diving into the implementation, let’s understand what a sticky header is and how it adds to an elite layout for your awesome site.
A sticky header stays in place while the user scrolls down the page, providing continuous access to the website’s primary navigation. It enhances the user experience and is a popular design element in modern web applications. It allows users to proficiently navigate to various pages without having unnecessary scrolls on log pages.
How to make Header Sticky?
In the React Header controller, we will deploy the addEventListener and removeEventListener event handlers to bind or remove the ‘scroll’ event on the window object. We will be calling these handlers inside the useEffect hook of our component.
We are analysing the pageYOffset property of the window object which returns the number of pixels that the document has been scrolled vertically from the top of the viewport. Based on these values, we compare if to our offset value after which a certain class ‘fixed’ in our case is implemented in the header.
The useEffect hook in React allows us to perform side effects in functional components. It is mainly used to handle side effects that should occur after a component is rendered, for example fetching data, setting up subscriptions, or manually changing the DOM.
In our case, we are using useEffect it to bind the scroll event listener to the window object. The reason for using useEffect is that it ensures the event listener is added after the component has been rendered and mounted to the DOM. This will guarantee that the event listener will work properly as expected.
So now, we have all the theoretical information in hand, let’s put all this information in our application and see in working practices. Let’s get started…
Step 1: Setting up the project
To start, let’s create a new React project using the following command:
npx create-react-app sticky-header-tutorialThis command will create a new React project named sticky-header-tutorial in the current directory.
Next, navigate to the project folder:
cd sticky-header-tutorial
Step 2: Adding Bootstrap in React App
We will be using the Bootstrap 5 based navigation menu items. Make sure to install Bootstrap 5 by adding the following line to the index.html file located in the public folder:
<link href="https://cdn.jsdelivr.net/npm/bootstrap@5.0.2/dist/css/bootstrap.min.css" rel="stylesheet" integrity="sha384-EVSTQN3/azprG1Anm3QDgpJLIm9Nao0Yz1ztcQTwFspd3yD65VohhpuuCOmLASjC" crossorigin="anonymous">
Step 2: Creating the Sticky Header Component
Create a new file called Header.js inside the src folder and add the following code:
import React, { useState, useEffect } from "react";
import "./Header.css";
import { Container, Nav, Navbar, NavDropdown } from "react-bootstrap";

const Header = () => {
  const [scrollPosition, setScrollPosition] = useState(0);

  const handleScroll = () => {
    const position = window.pageYOffset;
    setScrollPosition(position);
  };

  useEffect(() => {
    window.addEventListener("scroll", handleScroll);
    return () => {
      window.removeEventListener("scroll", handleScroll);
    };
  }, []);

  return (
    // <header className={`header ${scrollPosition > 50 ? "fixed" : ""}`}> // Unconnect this to appy basic header
    // <header className={`header ${scrollPosition > 50 ? "fixed fade-in" : ""}`}> // Unconnect this to appy Fade In effect on header
    <header className={`header ${scrollPosition > 50 ? "fixed slide-in" : ""}`}>
      <Container>
        <Navbar expand="lg">
          <Navbar.Brand href="#home">
            <img
              src="/fj-logo.png"
              alt="Freaky Jolly Logo"
              className="logo"
              style={{
                position: "absolute",
                // right: 0,
                top: 0,
                transform: scrollPosition > 50 ? "scale(0.75)" : "",
              }}
            />
          </Navbar.Brand>
          <Navbar id="basic-navbar-nav">
            <Nav className="me-auto">
              <Nav.Link href="#about">About</Nav.Link>
              <Nav.Link href="#contact">Contact</Nav.Link>
              <NavDropdown title="Categories" id="basic-nav-dropdown">
                <NavDropdown.Item href="#categories/react">
                  React
                </NavDropdown.Item>
                <NavDropdown.Item href="#categories/angular">
                  Angular
                </NavDropdown.Item>
              </NavDropdown>
            </Nav>
          </Navbar>
        </Navbar>
      </Container>
    </header>
  );
};

export default Header;
In the above code, we import the required dependencies including the Bootstrap component for building the navigation menu and create a functional component called <span class="hljs-selector-tag">Header</span>.
We added a state variable scrollPosition to keep track of the current scroll position. Then we created a handleScroll function to update the scroll position and add a scroll event listener within the useEffect hook.
Step 5: Configuring Various Animation Styles
Create a new file called Header.css inside the src folder. The Header.css file will have the based header css and also the Animation styles including the Fade-in Effect and Slide-in Effect.
Update the Header.css file with the following:
.header {
  width: 100%;
  height: 80px;
  position: absolute;
  top: 0;
  left: 0;
  background-color: #fff;
  display: flex;
  align-items: center;
  justify-content: center;
  transition: all 0.3s ease;
}

.header.fixed {
  position: fixed;
  background-color: white;
  height: 60px;
  box-shadow: 0 2px 4px rgba(0, 0, 0, 0.1);
}

.logo {
  max-width: 200px;
  max-height: 60px;
  transition: all 0.3s ease;
}

.header.fade-in {
  animation: fadeIn 0.5s ease-in;
}

@keyframes fadeIn {
  from {
    opacity: 0;
  }
  to {
    opacity: 1;
  }
}

.header.slide-in {
  animation: slideIn 0.5s ease-in;
}

@keyframes slideIn {
  from {
    transform: translateY(-100%);
  }
  to {
    transform: translateY(0);
  }
}
This CSS file contains the styling for the Header component. We set the header’s initial position as absolute, and when the scroll position is greater than 50, we apply the fixed class to make it sticky.
Step 4: Implementing Scroll Functionality
Adding Scroll Listener
We’ve added a scroll listener in the Header.js file. This listener calls the handleScroll function, which updates the scroll position whenever the user scrolls.
....
  const [scrollPosition, setScrollPosition] = useState(0);

  const handleScroll = () => {
    const position = window.pageYOffset;
    setScrollPosition(position);
  };

  useEffect(() => {
    window.addEventListener("scroll", handleScroll);
    return () => {
      window.removeEventListener("scroll", handleScroll);
    };
  }, []);
....
Based on the value of scrollPosition we are conditionally adding the fixed class on <header>
<header className={`header ${scrollPosition > 50 ? "fixed slide-in" : ""}`}>
Switching the Animation Effect
In the <header> section, we can implement the required effect that you want to apply by adding the required effect classes:
    // <header className={`header ${scrollPosition > 50 ? "fixed" : ""}`}> // Unconnect this to appy basic header
    // <header className={`header ${scrollPosition > 50 ? "fixed fade-in" : ""}`}> // Unconnect this to appy Fade In effect on header
    <header className={`header ${scrollPosition > 50 ? "fixed slide-in" : ""}`}>

.....
Header with No Scroll Effect
If you use the following with no effect class, you will have a fixed header looking like this:
<header className={`header ${scrollPosition > 50 ? "fixed" : ""}`}> 
Header with Fade-In Scroll Effect
If you use the following with fade-in effect class, you will have a fixed header looking like this:
<header className={`header ${scrollPosition > 50 ? "fixed fade-in" : ""}`}> 
Header with Slide-In Scroll Effect
If you use the following with slide-in effect class, you will have a fixed header looking like this:
<header className={`header ${scrollPosition > 50 ? "fixed fade-in" : ""}`}> 
Step 6: Testing the Application
Now that we have implemented all the necessary features, it’s time to test the application. Run the application using the following command:
npm startThis will start the development server, and you can view the application in your browser at http://localhost:3000/.
FAQs (Frequently Asked Questions)
Q: How to change the threshold for the header to become fixed?
Ans: You can modify the scrollPosition > 50 condition in the Header.js file to change the threshold.
Q: Is it possible to make the header sticky on mobile devices as well?
Ans: Yes, the implementation provided in this tutorial works on both desktop and mobile devices. It is fully responsive.
Conclusion
In this tutorial, we have successfully created an on-scroll sticky header using React JS, added a logo with CSS animation, and implemented various animation styles and configurations to make it translucent. By following these steps, you can easily implement similar features in your own React applications. Hope this will be helpful.

