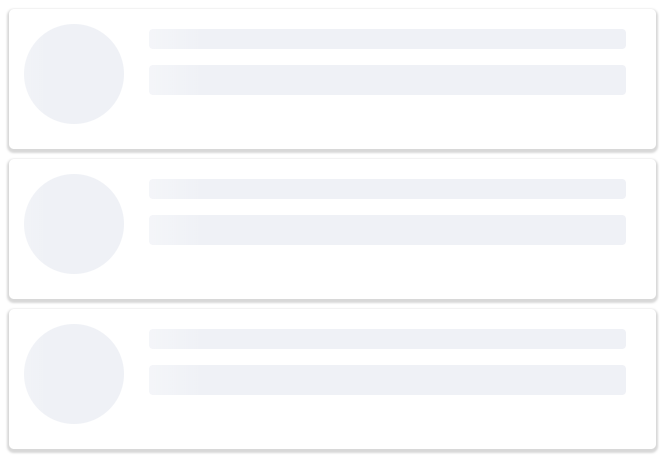
In this Angular tutorial, we’ll learn how to implement an animated gray effect to display loader elements to indicate progress in Angular 12 application. The skeleton loaders depict the placeholder of the same structure for data going to be loaded.
This type of skeleton loader got popularity when first seen in Facebook applications. The skeleton loaders a cool animation effect that can be structured similarly to the element which is going to be placed there.
To implement skeleton loaders easily and quickly we are going to use the best and topmost used package named ngx-skeleton-loader.
We’ll discuss how to use various options and also create a dummy list and implement the skeleton loader by using a custom theme.
Let’s get started!
Create a dummy Item list
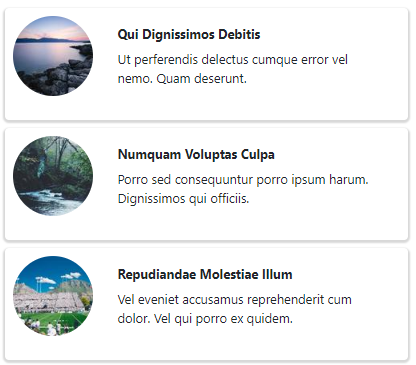
First, we’ll create a list of items having an Image, Tile, and some text in the body. Which will look like this
In the component, class define the dataList and loadItems() method to load items in the variable using setTimeout to simulate a real server call.
// app.component.ts
import { Component } from '@angular/core';

@Component({
  selector: 'app-root',
  templateUrl: './app.component.html',
  styleUrls: ['./app.component.scss']
})
export class AppComponent {
  title = 'angular-skeleton-loader-app';

  dataList = undefined;

  loadItems() {
    this.dataList = [];
    // mock server request
    setTimeout(() => {
      this.dataList = [{
        id: 1,
        title: 'qui dignissimos debitis',
        body: 'Ut perferendis delectus que error vel nemo. Quam deserunt.'
      }, {
        id: 2,
        title: 'numquam voluptas culpa',
        body: ' Porro sed consequuntur porro ipsum harum. Dignissimos qui officiis.'
      }, {
        id: 3,
        title: 'repudiandae molestiae illum',
        body: 'Vel eveniet accusamus reprehenderit dolor. Vel qui porro ex quidem.'
      }, {
        id: 4,
        title: 'nobis id repellat',
        body: 'Quam itaque recusandae. Autem nostrum aut nemo alias eos dicta autem .'
      }, {
        id: 5,
        title: 'assumenda voluptates voluptatibus',
        body: 'Omnis exercitationem est facilis minima molestiae laudantium.'
      }];
    }, 2000);
  }
}
In the Template file app.component.html, add the following HTML
<div class="text-center">
    <button class="btn btn-primary" (click)="loadItems()">Load Items</button>
</div>

<div class="list-wrapper" *ngIf="dataList">

    <ul>

        <li *ngFor="let item of dataList">
          <div class="item-wrap">
            <div class="item-img">
              <img src="https://picsum.photos/100?img={{item.id}}" />
            </div>
            <div class="item-content">
              <label>{{item.title}}</label>
              <p>{{item.body}}</p>
            </div>
          </div>
        </li>

    </ul>

</div>
We have used the *ngFor loop to iterate the item list.
Also, add following CSS in the app.component.scss file
.list-wrapper {
    padding: 18px;
    ul {
        padding: 10px;
        li {
            list-style: none;
            .item-wrap {
                display: flex;
                box-shadow: 0px 2px 2px 2px #d8d8d8;
                padding: 10px;
                border-radius: 5px;
                margin-bottom: 10px;
                .item-img {
                    min-width: 120px;
                    min-height: 120px;
                    align-self: center;
                    img {
                        border-radius: 100px;
                    }
                }
                .item-content {
                    padding: 10px;
                    width: calc(100% - 130px);
                    label {
                        font-weight: bold;
                        text-transform: capitalize;
                    }
                }
            }
        }
    }
}
Until now, we have just created a simple list of items using a static object which can fetch items from a remote server.
Implement Skeleton Loader
In this section, we’ll install the required package and configure it to implement the Skeleton loader for our list.
# Install ngx-skeleton-loader
Now install the ngx-skeleton-loader package in the Angular project by hitting below command
$ npm install ngx-skeleton-loader --save
# Update App Module
Next, we’ll import the package module NgxSkeletonLoaderModule and update the imports array.
Open the app.module.ts file and update as shown below:
// app.module.ts
import { BrowserModule } from '@angular/platform-browser';
import { NgModule } from '@angular/core';

import { AppRoutingModule } from './app-routing.module';
import { AppComponent } from './app.component';

import { NgxSkeletonLoaderModule } from 'ngx-skeleton-loader';

@NgModule({
  declarations: [
    AppComponent
  ],
  imports: [
    BrowserModule,
    AppRoutingModule,
    NgxSkeletonLoaderModule
  ],
  providers: [],
  bootstrap: [AppComponent]
})
export class AppModule { }
# Adding Skeleton Load
The Skeleton loader is implemented by adding the <ngx-skeleton-loader></ngx-skeleton-loader> component.
This will create a loader on page with a full width of container and height of 20px by default.
# Skeleton Loader for List
Now update the app.component.html file’s template HTML to show skeleton loader until the list is not loaded.
<div class="text-center">
  <button class="btn btn-primary" (click)="loadItems()">Load Items</button>
</div>

<div class="list-wrapper" *ngIf="dataList">

  <ul>

    <ng-container *ngIf="dataList.length; else elseTemplate">

      <li *ngFor="let item of dataList">
        <div class="item-wrap">
          <div class="item-img">
            <img src="https://picsum.photos/100?img={{item.id}}" />
          </div>
          <div class="item-content">
            <label>{{item.title}}</label>
            <p>{{item.body}}</p>
          </div>
        </div>
      </li>

    </ng-container>
    <ng-template #elseTemplate>
      <!-- Loading Items -->
      <li class="skeleton" *ngFor="let item of generateFake(5)">
        <div class="item-wrap">
          <div class="item-img">
            <ngx-skeleton-loader appearance="circle" [theme]="{ height: '100px',width: '100px'}"></ngx-skeleton-loader>
          </div>
          <div class="item-content">
            <div>
              <ngx-skeleton-loader></ngx-skeleton-loader>
            </div>
            <p>
              <ngx-skeleton-loader [theme]="{ height: '30px'}"></ngx-skeleton-loader>
            </p>
          </div>
        </div>
      </li>

    </ng-template>

  </ul>
</div>
Above we used the Angular *ngIfElse directive to show Skeleton loaders with similar HTML components.
Also, there is a generateFake() method to return a fake array of the specified counts.
// Generate Fake Object Array
  generateFake(count: number): Array<number> {
    const indexes = [];
    for (let i = 0; i < count; i++) {
      indexes.push(i);
    }
    return indexes;
  }
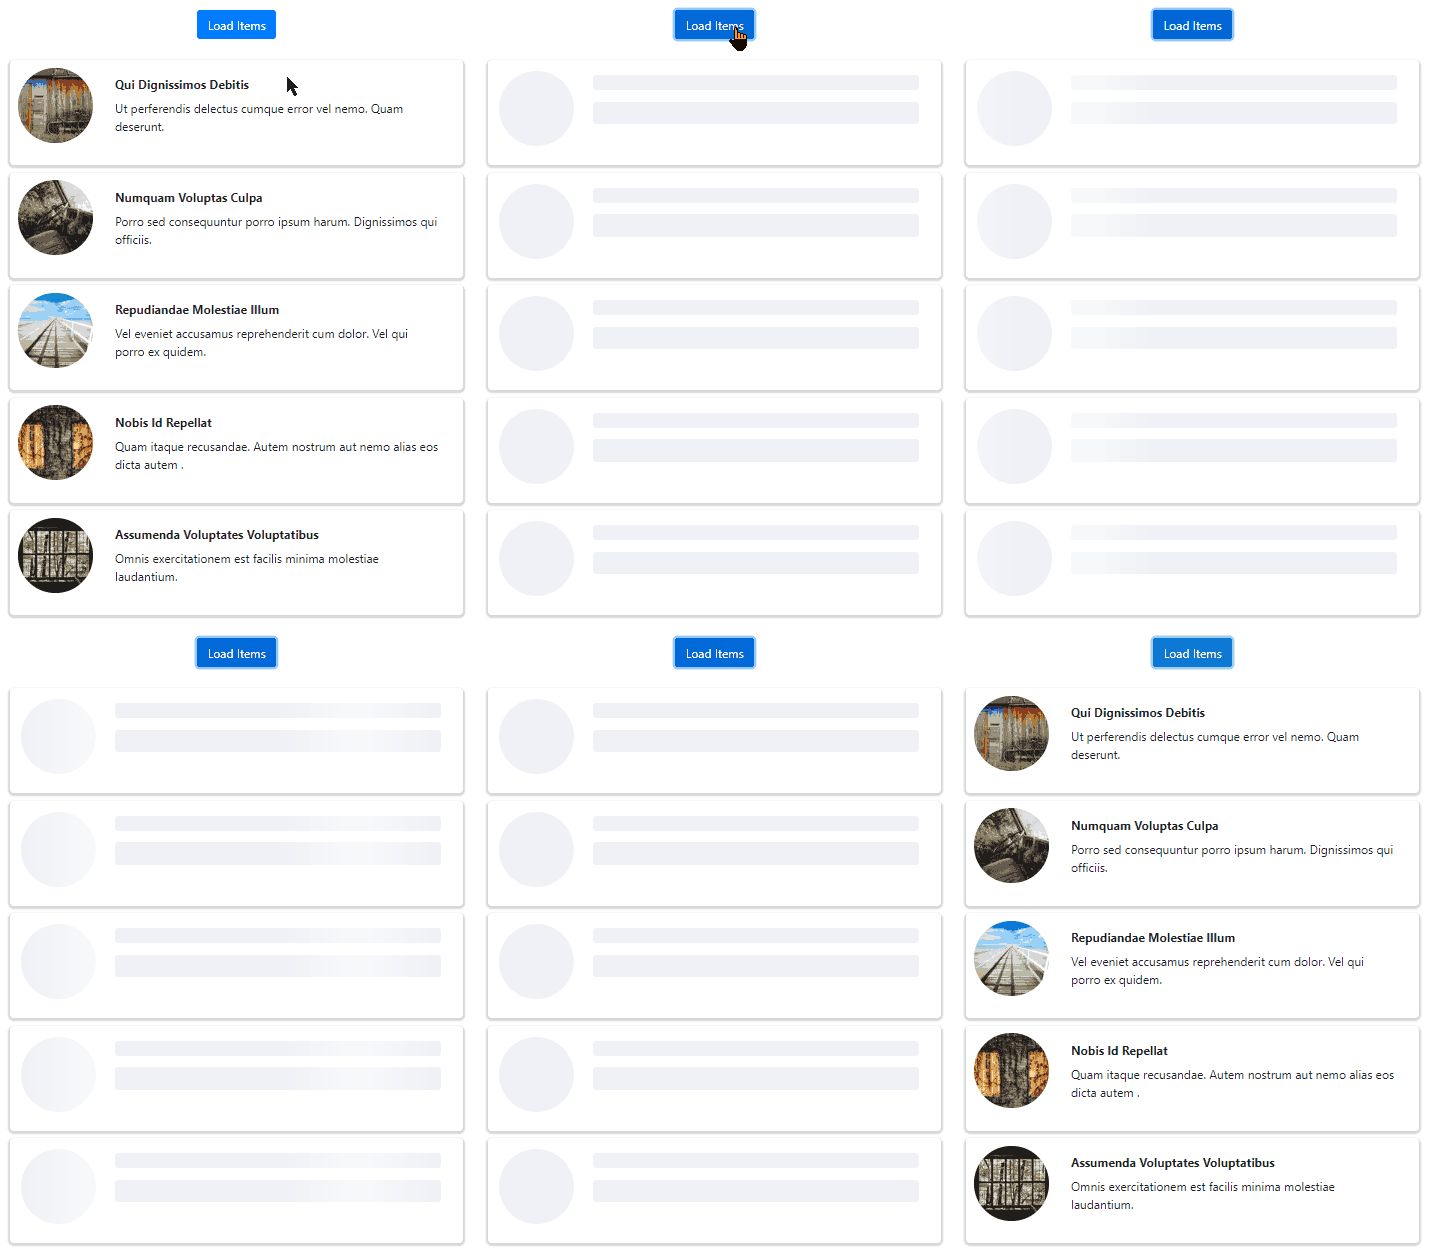
Now run the application to see it working
Options Available for Skeleton Loader
There are some important properties which can be added on the ngx-skeleton-loader component directive to change its behavior and style.
# Animation Style
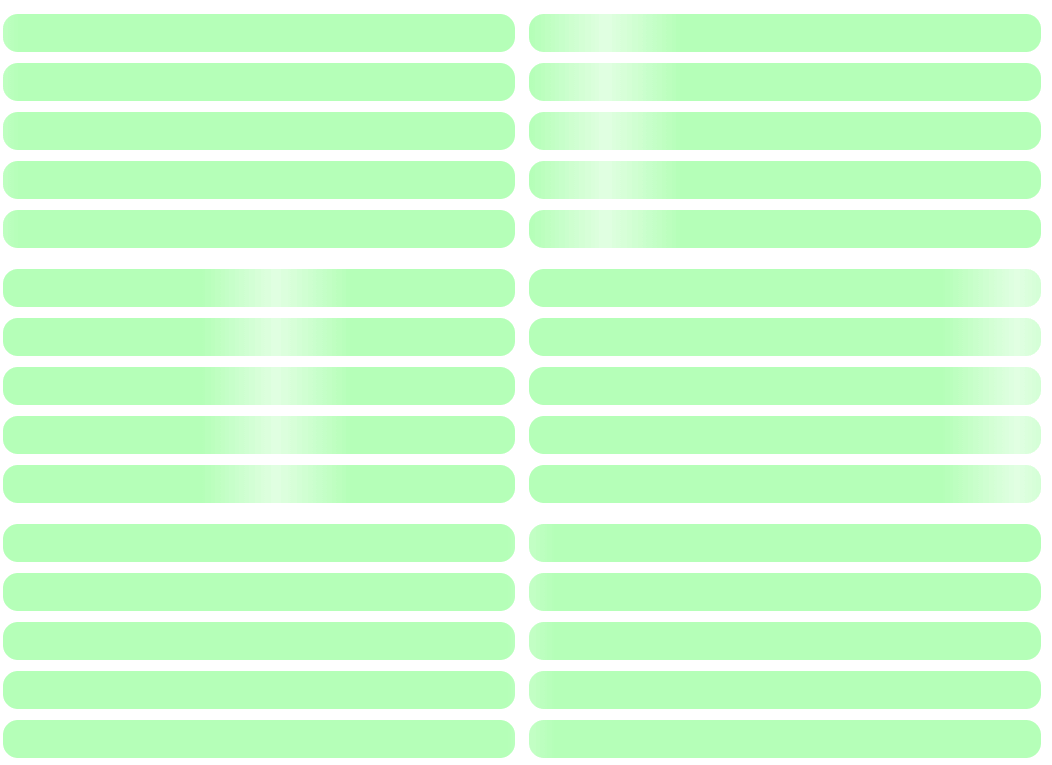
The animation property controls the animation style
<span class="entity other attribute-name html">animation</span>=<span class="punctuation definition string begin html">"</span>false": Removes the animation effect.
<span class="entity other attribute-name html">animation</span>=<span class="punctuation definition string begin html">"</span>progress": Apply ‘progress’ as an animation effect. This is the default style.
<span class="entity other attribute-name html">animation</span>=<span class="punctuation definition string begin html">"</span>pulse": Apply ‘pulse’ as an animation effect.
# Multiple Loaders
The count property can be used to repeat the loaders
<ngx-skeleton-loader count="5"></ngx-skeleton-loader>
# Circle Skeleton Loader
For images or circular elements, we can create circular-shaped loaders by adding appearance="circle" property.
The height and width of the circle can be changed by using the [theme] property which we’ll discuss in the next section.
# Custom Theme for Skeleton Loader
The [theme] property takes an object of CSS style properties
<ngx-skeleton-loader
     count="5"
     [theme]="{'background-color': '#b5ffb8',
     height:'50px', 'border-radius':'20px'}"
     >
</ngx-skeleton-loader>
# Dark Themed Loaders
By default, the package provides the dark themed loader. The animation="progress-dark" is used.
<div style="background-color: #000; padding: 100px;">

  <ngx-skeleton-loader count="5" animation="progress-dark"
    [theme]="{'background-color': '#464646', height:'50px', 'border-radius':'20px'}">
  </ngx-skeleton-loader>

</div>
Conclusion
There are a number of packages available but ngx-skeleton-loader is the most popular and widely used skeleton loader option. In this tutorial, we discussed with an example hot to use the skeleton loaders on-page and other configuration options.
We also created a generateFake() method to create a fake array object. This function can be placed in a common service so that it can be called at different parts of the application.
Do share your feedback and comments.


